Planning Your Kitchen Renovation Storage Strategy
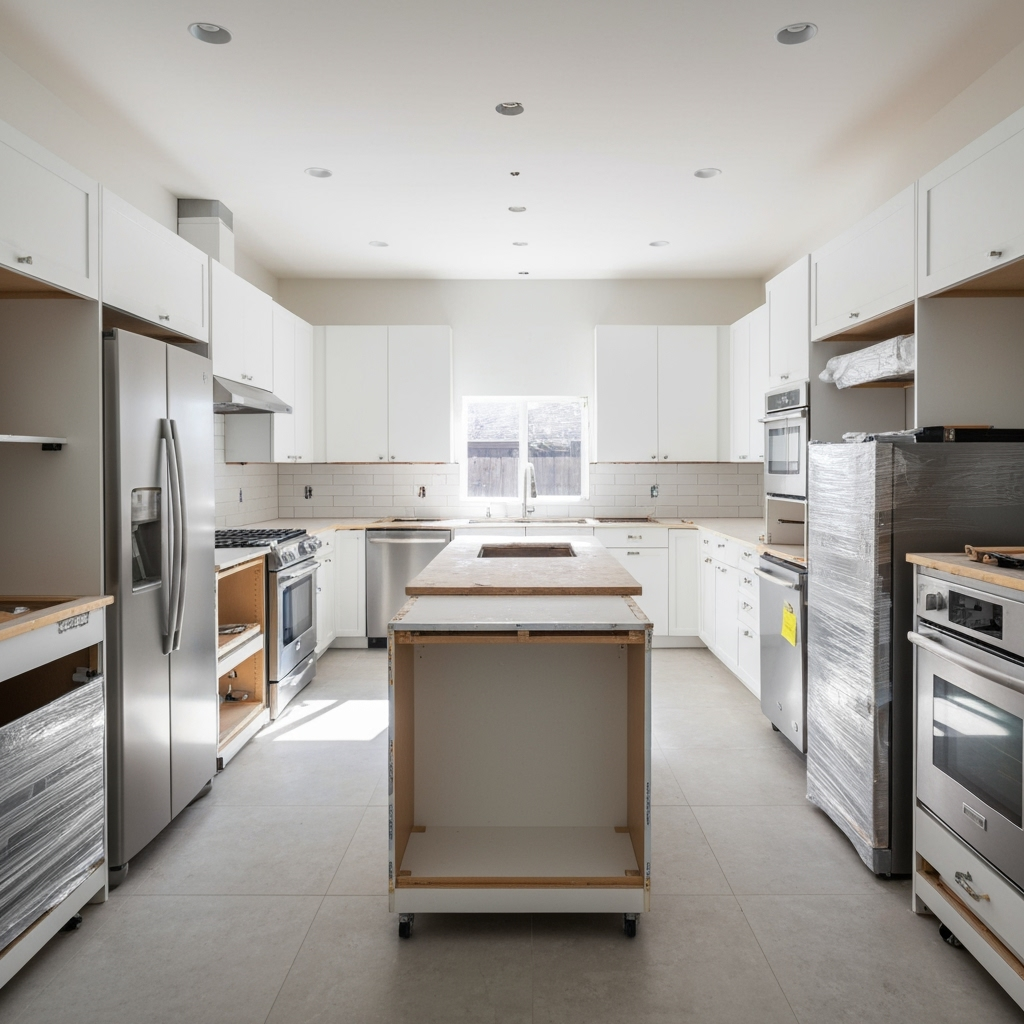
A kitchen renovation is one of the most impactful home improvement projects you can undertake – but it also creates significant challenges for daily living and protecting valuable appliances and cabinetry. This comprehensive guide will help you develop a smart storage strategy to protect your kitchen investments during the remodeling process.
Why Professional Storage Matters During Kitchen Renovations
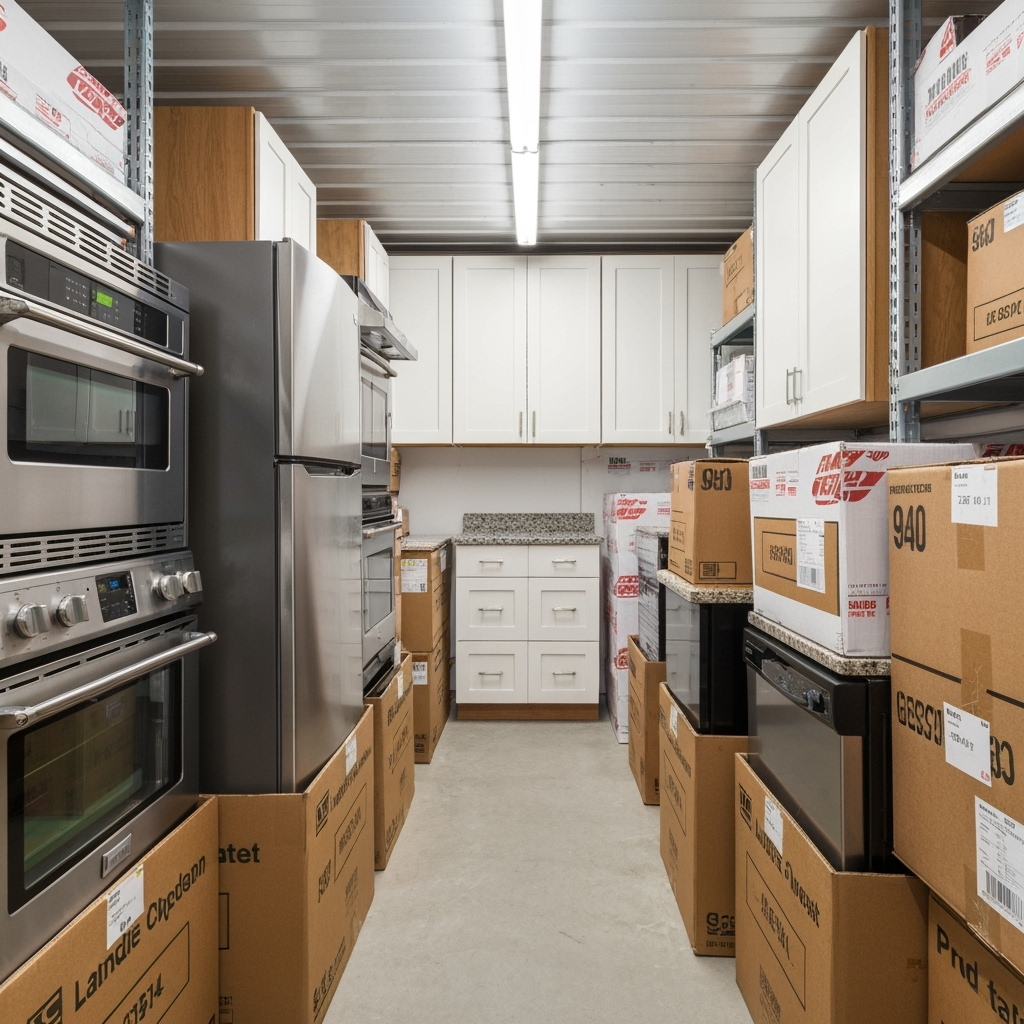
Kitchen renovations typically take 4-8 weeks or longer, during which your appliances, cabinets, and belongings need proper protection from dust, debris, and potential damage. A climate-controlled storage unit provides the perfect solution for safeguarding these valuable items while maintaining easy access when needed.
What to Store During Your Kitchen Remodel
- Major appliances (refrigerator, stove, dishwasher)
- Removed cabinets and countertops
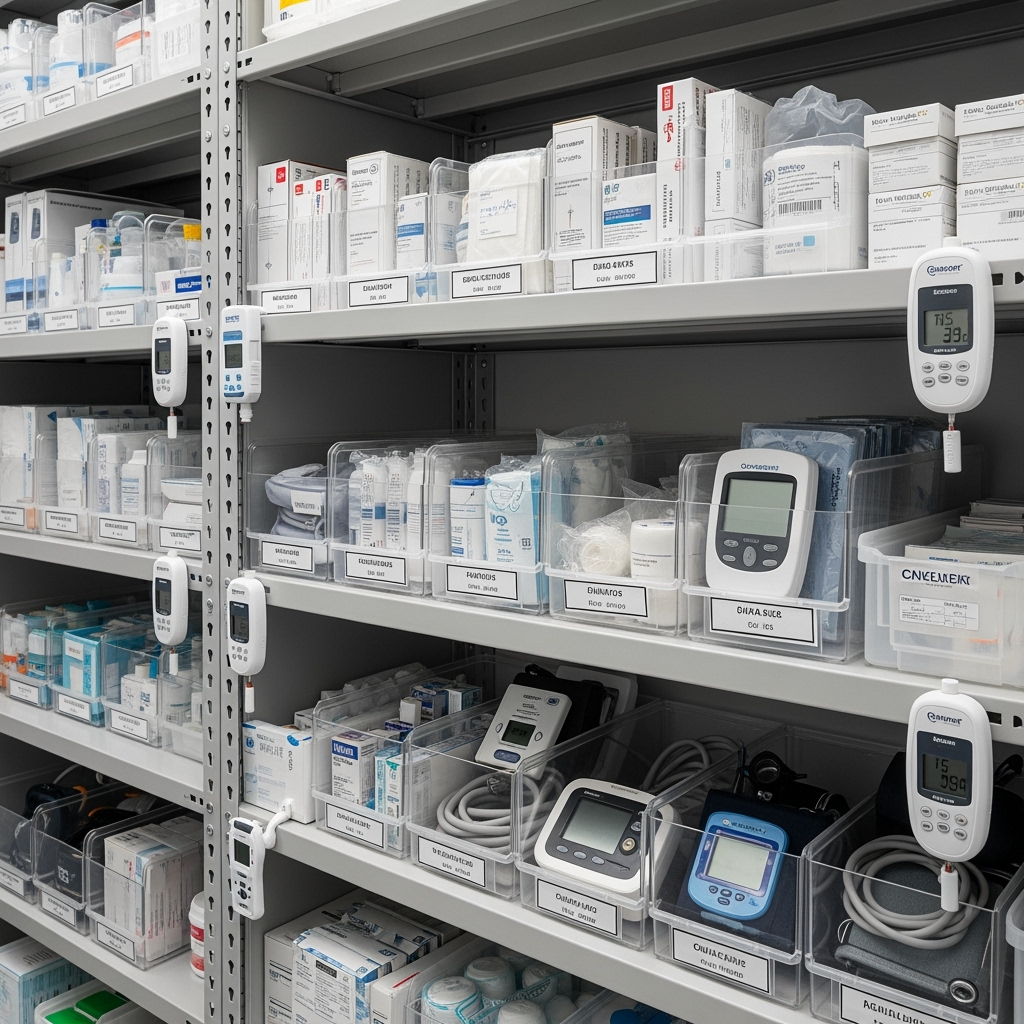
- Small appliances and kitchen gadgets
- Dishes, cookware, and utensils
- Pantry items and food storage
- Kitchen furniture and decor
Preparing Your Kitchen Items for Storage
Appliance Protection
Before moving appliances to storage:
- Clean and dry thoroughly
- Disconnect and drain water lines
- Secure moving parts and doors
- Use appliance blankets for protection
- Keep upright during transport and storage
Cabinet and Countertop Storage
Protect removed cabinetry by:
- Labeling each piece for reinstallation
- Wrapping in furniture pads
- Storing flat or upright with proper support
- Keeping hardware organized and labeled
Choosing the Right Storage Unit
Size Considerations
For a full kitchen renovation, consider:
- 10×10 unit for small kitchens
- 10×15 unit for medium kitchens
- 10×20 unit for large kitchens with islands
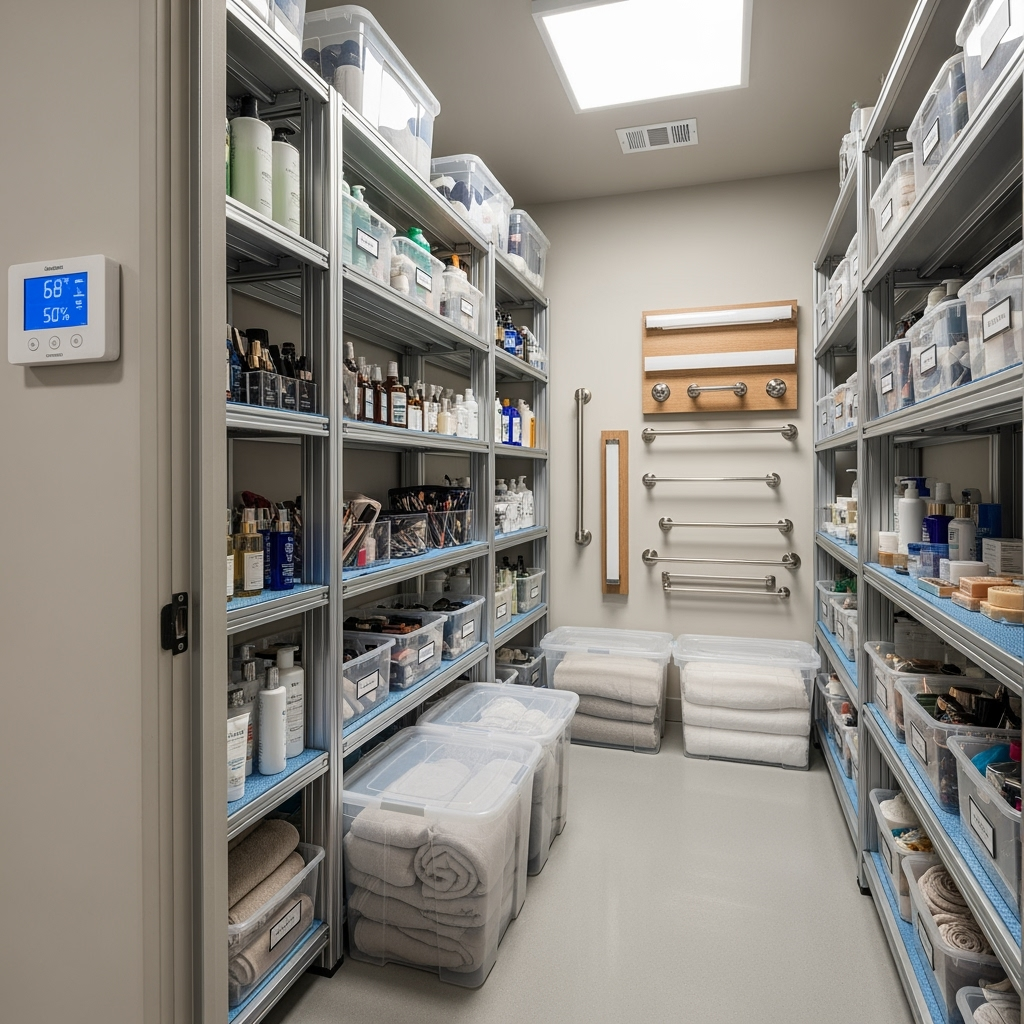
Climate Control Benefits
Climate-controlled storage is essential for:
- Preventing moisture damage to wood cabinets
- Protecting electronic components in appliances
- Maintaining consistent temperature for sensitive materials
- Avoiding rust and corrosion on metal surfaces
Organizing Your Storage Unit
Create an efficient storage layout by:
- Placing frequently needed items near the front
- Using sturdy shelving units for smaller items
- Creating clear aisles for access
- Maintaining detailed inventory lists
- Taking photos of stored items and locations
Temporary Kitchen Setup Tips
While your kitchen is being renovated:
- Set up a mini kitchen in another room
- Keep essential items easily accessible
- Use clear storage bins for temporary organization
- Label boxes clearly for quick retrieval
Timeline Management
Coordinate your storage strategy with your renovation timeline:
- Reserve your unit 2-3 weeks before renovation starts
- Move items in stages as demolition approaches
- Plan for extra storage time in case of delays
- Schedule item retrieval based on installation timeline
Making the Most of Your Storage Investment
Maximize your storage unit value by:
- Using vertical space efficiently
- Implementing a clear organization system
- Maintaining easy access to necessary items
- Protecting valuable materials and appliances
Post-Renovation Storage Tips
After your renovation:
- Inspect items carefully before returning
- Clean storage unit thoroughly
- Update inventory lists for future reference
- Consider keeping the unit for rotating seasonal items
Conclusion
A well-planned storage strategy is crucial for a successful kitchen renovation. By choosing the right storage unit and following proper protection procedures, you can ensure your valuable kitchen components remain safe and organized throughout the remodeling process. Public Storage offers various climate-controlled units perfect for kitchen renovation storage, helping you maintain peace of mind while creating your dream kitchen.


Leave a Reply